FIREPROOFING
US150 Fire Barrier Foam
Download (4)

Description
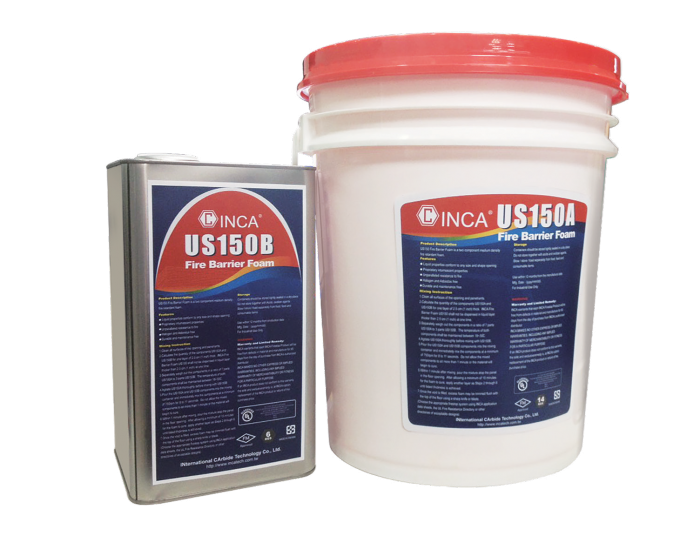
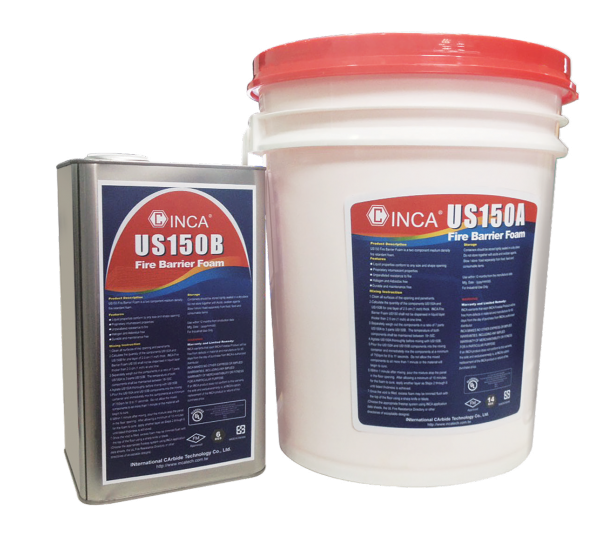
Industry leading Firestop Technology, US150 Fire Barrier Foam is a two component medium density foam which, when mixed, forms a rigid-density fire retardant foam.
US150 Fire Barrier Foam is designed for large openings containing single or multiple penetrations. US150 Fire Barrier Foam's fast expansion technology quickly fills voids, and conforms to irregular shapes and sizes, offering excellent protection from fire, heat transfer, smoke and gases.
Repairable and re-penetrable, US150's rigid structure is easy to drill using common hole saws, ideal for irregular shaped openings that will require future penetrations.
US150 Fire Barrier Foam is low VOC, halogen and asbestos free, durable and maintenance free. Meets the intent of LEED® VOC environmental air quality.
Specifications:
US150 A US150B
Color: Black Yellow
Packing: 14Kg/Pail 400 ml 2K Cartridge 6Kg/Pail 400 ml 2K Cartridge
Foaming time: 1 - 5 min.
Optimum foaming temp: 68° F - 86° F (20° C - 30° C)
Curing Time: 24 hours Foam rate: 2.5 - 4 times LO.I.: ≥32
Storage temp: 59° F - 77° F (15°C - 25°C)
In-Service temp: -13° F - 176° F (-25° C - 80° C)
Shelf life: 12 months
Intumescent expan-sion rate: 4-8 times
Mix ratio A:B 7-3 by weight
Yield per kit: 60,000cm3 (depending on ambient conditions)
Performance: 50+ years HOAC tested
Testing
ASTM E814 up to 2 hr F&T Rating
UL 1479 up to 2 hr F&T Rating
CNS 14514 up to 3 hr Class A&B
GB 23864
ASTM E662 & FAR 25.853
Installation guide for cartridge system:
(Clean all surfaces of the opening and penetrants before applying).
1. Hold the cartridge with the nozzle pointing upwards and pointing away from you then unscrew the cap.
2. Thread the static mixer onto the cartridge and screw securely.
3. Release the dispenser on applicator gun and pull back the piston rod.
4. Insert the cartridge in the dispenser.
5. Trigger the gun several times until the mixture in the mixer has a constant color. Discard the first few strokes.
6. Apply US150 to build up a seal by working from the back towards the front and bottom to top of the opening.
7. If necessary, install forming material at the back side or bottom side before applying.
8. Once the void is filled, excess foam may be trimmed flush with the surface of the wall or floor using a sharp knife or blade.
Installation guide:
1. Refer to applicable certification directory or www.paintoprotect.com for listed assemblies.
2. Areas to be protected must be clean and free of oil, loose dirt, rust or scale. Installation temperatures must be between 68° F - 86° F (20° C - 30° C).
3. Calculate amount of material required, based on the fact that a 20 Kg kit yields 60,000 cm3 .
4. US150 is supplied as two part components (Parts A & B). Settling and separation during storage is expected, therefore both components must be stirred with a clean paddle or suitable power mixer prior to use.
5. Using a scale, weigh out and mix parts of US150A and US150B at a ratio of 7 - 3. Mixing may be accomplished using a paddle mixer or other suitable power mixer in a container or by the use of automatic mixing and dispensing equipment. If paddle mixing is used, mix aggressively for 30 seconds.
6. Immediately pour mixed foam into the penetration. Product rises and cures in 1- 5 minutes depending on temperature.
7. Mechanical mixing and dispensing is recommended for large volume applications.

FIREPROOFING
18
-
 US150 Fire Barrier FoamDescription Industry leading Firestop Technology, US150 Fire Barrier Foam is a two component medium density foam which, when mixed, forms a rigid-density fire retardant foam. US150 Fire Barrier Foam is designed for large openings containing single or multiple penetrations. US150 Fire Barrier Foam's fast expansion technology quickly fills voids, and conforms to irregular shapes and sizes, offering excellent protection from fire, heat transfer, smoke and gases. Repairable and re-penetrable, US150's rigid structure is easy to drill using common hole saws, ideal for irregular shaped openings that will require future penetrations. US150 Fire Barrier Foam is low VOC, halogen and asbestos free, durable and maintenance free. Meets the intent of LEED® VOC environmental air quality. Specifications: US150 A US150B Color: Black Yellow Packing: 14Kg/Pail 400 ml 2K Cartridge 6Kg/Pail 400 ml 2K Cartridge Foaming time: 1 - 5 min. Optimum foaming temp: 68° F - 86° F (20° C - 30° C) Curing Time: 24 hours Foam rate: 2.5 - 4 times LO.I.: ≥32 Storage temp: 59° F - 77° F (15°C - 25°C) In-Service temp: -13° F - 176° F (-25° C - 80° C) Shelf life: 12 months Intumescent expan-sion rate: 4-8 times Mix ratio A:B 7-3 by weight Yield per kit: 60,000cm3 (depending on ambient conditions) Performance: 50+ years HOAC tested Testing ASTM E814 up to 2 hr F&T Rating UL 1479 up to 2 hr F&T Rating CNS 14514 up to 3 hr Class A&B GB 23864 ASTM E662 & FAR 25.853 Installation guide for cartridge system: (Clean all surfaces of the opening and penetrants before applying). 1. Hold the cartridge with the nozzle pointing upwards and pointing away from you then unscrew the cap. 2. Thread the static mixer onto the cartridge and screw securely. 3. Release the dispenser on applicator gun and pull back the...Robin ㆍ 2019.02.19 ㆍ Votes 0 ㆍ Views 2119
 -
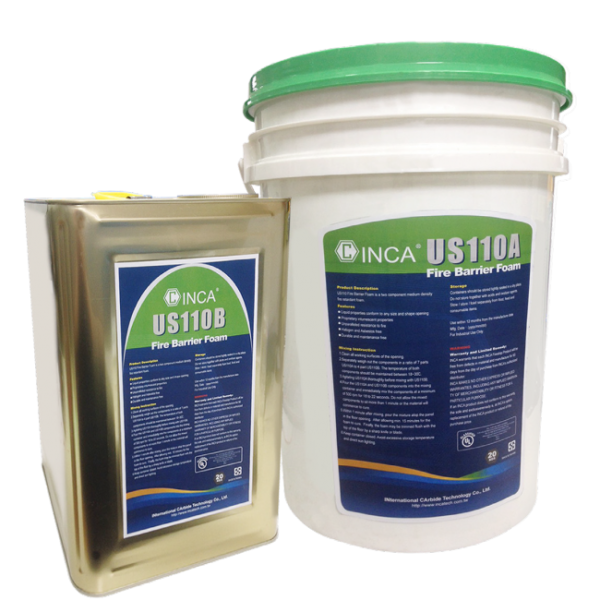 US110 Fire Barrier FoamDescription Industry leading Firestop Technology, US110 Fire Barrier Foam is a two component foam, consisting of separate A and B liquid components which, when mixed, form a flexible medium-density fire retardant foam. US110 Fire Barrier Foam is designed to seal large openings containing multiple penetrations such as cable bundles, cable trays and metallic pipes. Prior to foaming, the liquid components remain fluid, allowing effortless sealing of any size and shape opening, making the product quicker and more efficient than traditional firestop methods. US110 Fire Barrier Foam's fast expansion technology quickly fills voids, offering excellent protection from fire, heat transfer, smoke and gases. US110 Fire Barrier Foam offers unparalleled resistance to fire consumption, is halogen and asbestos free, durable and maintenance free. Meets the intent of LEED® VOC environmental air quality requirements. requirements. Specifications: US110 A US110B Color: Gray Brown Brown 7 Kg Packing: 12.25 Kg Foaming time: 1 - 5 min. Optimum foaming temp: 68° F to 86° F (20° C - 30° C) Curing time: 24 hours Foam rate: 5 - 7 times LO.I.: > 32 Storage temp: 59° F - 77° F (15°C - 25°C) In-Service temp: -13° F - 176° F (-25° C - 80° C) Shelf life: 12 months Intumescent expansion rate: 2-5 times Mix ratio A:B 7-4 by weight Yield per kit: 134,750 cm3 (depending on ambient conditions) Performance: 50+ years HOAC tested Testing ASTM E 814 up to 2 hr F and T Ratings UL 1479 2 hr F and T Ratings L Rating at Ambient - Less than 1 cfm/sq. ft. ULC S-115 up to 2 hr FH Rating L Rating at Ambient - Less than 5.1 L/S/m2 FM Approved ASTM E 84 Flame 0 Smoke 25 CNS 14514 2 hr Class A and B ASTM E662 & FAR 25.853 Installation guide: 1....Robin ㆍ 2019.02.19 ㆍ Votes 0 ㆍ Views 2429
 -
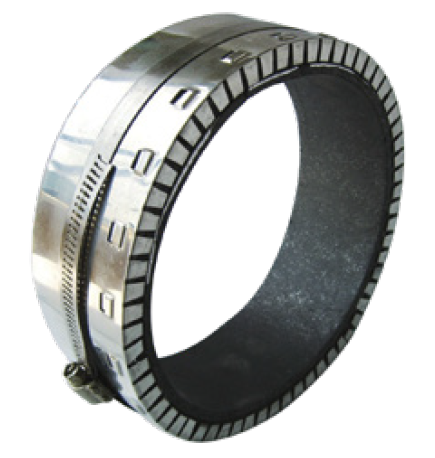 SSCI Firestop CollarDescription Industry leading Firestop Technology, SSCI Firestop Collar is a stainless steel collar intended to be used in conjunction with INFS0812 Intumescent Strip to tightly seal any opening that is created as a material is consumed by fire. This combination will restore the fire resistance rating of walls, floors and seals against the passage of flames, toxic fumes and smoke. lNFS0812 Strip and SSCI Firestop Collar are designed to make installation quick and easy. SSCI and INFS0812 Fire designs require less product and offer exceptional performance, making SSCI and INFS0812 more cost effective than other traditional firestop collars and strips. SSCI is intended for penetrating items such as non metallic pipes, plastic pipe, and insulated pipes. Specifications In-Service Temperature: -13° F - 176° F (-25° C - 80° C) Storage Temperature: 40° F - 104° F (5° C - 40° C) Performance: 50+ years HOAC tested SSCI is available in all standard pipe sizes or in a bulk kit that can be cut to be fitted on site by the applicator Nominal size of pipe 2" 3" 4" 5"- 6" 7"- 8" 9" - 12" Required Strips 1 2 2 3 3 4 Collar width (mm) 60 60 60 60 80 120 Number of anchor tabs 3 3 4 6 6 8 Testing ASTM E 814 up to 3 hr F and T Ratings UL 1479 3 hr F and T Ratings L Rating at Ambient - Less than 1 cfm/sq. ft. CAN/ULC S-115 2 hr FTH Ratings Meets 50 Pa requirement FM Approved ASTM E 84 Flame 0 Smoke 0 CNS 14514 3 hr Class A and B GB 23864 ASTM E662 & FAR 25.853Robin ㆍ 2019.02.19 ㆍ Votes 0 ㆍ Views 2413
 -
 FS1000PRODUCT DESCRIPTION : APPLICATION ▶ Sealing and jointing of electric equipment ▶ Sealing penetrations of cables, cable trays, plastic and metallic pipes ▶ Joint sealing of fire zone CHARACTERISTICS ▶ Fire resistance up to 120 min. ▶ Resistant to smoke and moisture ▶ Non-toxic water-based emulsion VIDEO LINKRobin ㆍ 2019.02.19 ㆍ Votes 0 ㆍ Views 2637
 -
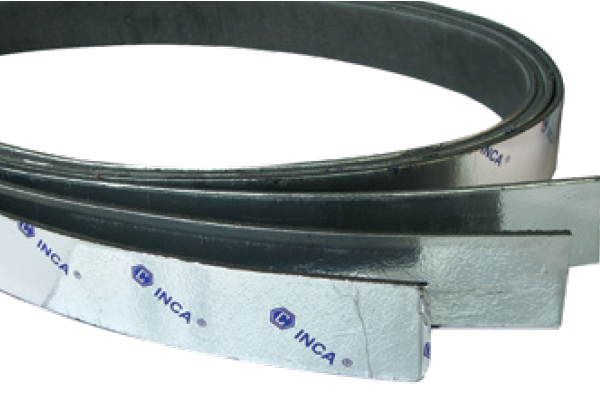 INFS0812 Intumescent StripsDescription INFS0812 Intumescent Strips are quickly and easily installed providing a convenient solution for firestop contractors. Providing high expansion rate and volume means that the INFS0812 design requires less strips to seal the openings, making it more cost effective than other traditional firestop intumescent strips. INFS0812 Intumescent Strips expand when heated and maintain a tight seal. When used with combustible penetrants such as plastic pipe, INFS0812 blocks the spread of fire, smoke, toxic gases, even as the penetrant is consumed by fire. INFS0812 Intumescent Strips are also used in conjunction with our SSCI Firestop Collar to tightly seal any opening that is created as a combustible item is consumed by fire. Meets the intent of LEED® VOC environmental air quality requirements. Specifications INFS0812: 5mm x 60mm x 2M Color: Black Expansion rate: ≥20 times L.O.I: ≥40 In-Service Temperature: -13° F - 176° F (-25° C - 80° C) Storage Temperature: 40° F to 104° F (5° C to 40° C) Environmental Aging as per UL 1479: Pass Accelerated aging (158± 5°F for 270 days) Pass High humidity (97-100% RH & 95 ± 3°F for 180 days) Testing ASTM E 814 up to 3 hr F and T Ratings UL 1479 3 hr F and T Ratings L Rating at Ambient - Less than 1 cfm/sq. ft. CAN/ULC S115 2 hr FTH Ratings Meets 50 Pa requirement FM Approved ASTM E 84 - Flame 0 Smoke 0 CNS 14514 3 hr Class A and B GB 23864 ASTM E662 & FAR 25.853 (1998)Robin ㆍ 2019.02.19 ㆍ Votes 0 ㆍ Views 2190
 -
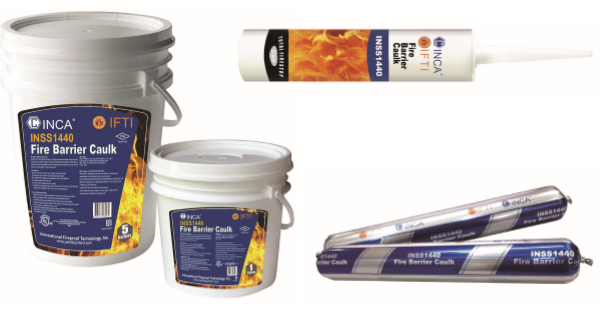 INSS1440 Fire Barrier CaulkDescription Industry leading Firestop Technology, INSS1440 Fire Barrier Caulk is a single component water-based acrylic intumescent firestop sealant. INSS1440 Listed designs use less product and offer exceptional performance, making it more cost effective than other traditional firestop caulking's. The product's fast expansion technology quickly fills voids, offering excellent protection from fire, heat transfer, smoke and gases. INSS1440 is used for sealing gaps around single or multiple penetrations through interior walls and floors, or for sealing gaps around doors and window frames in critically fire rated structures. INSS1440 Fire Barrier Caulk will adhere to most construction materials and penetrant items, is installation friendly, asbestos and halogen free, and can be painted after full curing. Specifications Specific Density: 1.50 ± 0.1 g/cm3 Color: Red, Gray VOC: 23 g/L STC: 64 Tack Free time: 30 minutes Curing time: 7 - 21 days Expansion rate: 3 - 5 times Application temperature: 40° F - 104° F (5° C - 40° C) In-Service Temperature: -13° F - 176° F (-25° C - 80° C) Storage Temperature: 50° F - 95° F (10° C - 35° C) Packaging: 310 ml/Tube, 25 Tubes/CTN 20 fl. oz./Sausage, 20 Sausages/CTN 1 gal/pail & 5 gal/pail Shelf Life: 24 months Performance: 50+ years HOAC tested Testing ASTM E814 up to 3 hr F&T Rating UL 1479 up to 3 hr F&T Rating L Rating at Ambient - Less than 1 cfm/sq. ft. ULC S-115 up to 3 hr F Rating up to 2 hr FT Rating up to 3 hr FH Rating up to 2 hr FTH Rating L Rating at Ambient - Less than 5.1 L/S/m2 FM Approved CNS 14514 up to 3 hr Class A&B GB 23864 ASTM E84 - Flame 5 Smoke 20 ASTM E662 & FAR 25.853Robin ㆍ 2019.02.19 ㆍ Votes 1 ㆍ Views 5009
 -
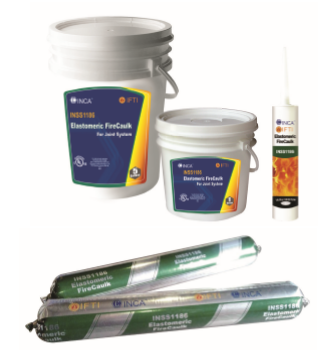 INSS1186Description Industry leading Firestop Technology, INSS1186 Elastomeric FireCaulk is a water based acrylic elastomeric fire rated caulk that offers excellent fire protection and flexibility, even after full curing. Curtain Wall INSS1186 is tested in accordance with ASTM E2307 providing a 3hr fire rating and 2 hr smoke rating on 100% vision glass curtain wall. Joint Systems INSS1186 is also tested in accordance with UL 2079 and ULC S-115 for use in dynamic construction joint system, such as Head of Wall, Wall to Wall, Floor to Wall and Floor to Floor joints. INSS1186 can be applied by brush, bulk caulking gun, trowel or airless sprayer. It is compatible with and adheres to common construction materials and withstands compression and extension in dynamic joints. INSS1186 Elastomeric FireCaulk is a water based, low VOC, halogen, asbestos and organic solvent free product. Meets the intent of LEED® VOC environmental air quality requirements. Specifications Density: 1.5±0.1 g/cm3 Solid Content (by weight): 75% VOC: 4 g/L STC: 63 Dry to Touch: 30 minutes Curing Time: 3-7 days depending on thickness and ambient conditions. Application Temp: 40° F - 104° F (5° C - 40° C) In-Service Temp: -13° F - 176° F (-25° C - 80° C) Shelf life: 24 months Maximum cyclic displacement: ±12.5% Storage Temperature: 50°F - 95° F (10° C - 35° C) Packaging: 20 fl. oz./Sausage, 20 Sausages/CTN 310ml/ tube, 25 Tubes/ CTN 1 G/Pail, 5G/Pail Performance: 50+ years HOAC tested Testing ASTM E2307 3hr F Rating 2hr T Rating at 8" Nominal Joint +/- 5% vertical and +/-12.5% horizontal Cyclic Movement ANSI/UL 2079 3 hr Rating at 4" Nominal Joint L Rating At Ambient - Less Than 1 CFM/ Lin Ft CAN/ULC S 115 3 hr FTH Rating at 4" Nominal Joint L Rating at Ambient - Less than 1.55 L/S/m2 ASTM...Robin ㆍ 2019.02.19 ㆍ Votes 0 ㆍ Views 3179
 -
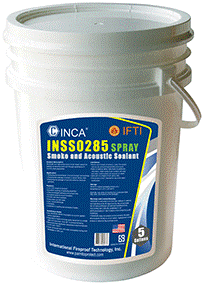 IFTI INSS0285Description INSS0285 is a high performance acrylic based sealant for sealing construction joints and through penetrations in non fire-rated assemblies. Applications Reducing the transmission of sound through wall openings. Stopping the passage of smoke in smoke barrier walls. Stopping air leakage to reduce the passage of dust and airborne infectious particles. Features Low VOC, single component Excellent caulking and spraying properties Silicone, halogen, asbestos and solvent free. Excellent airborne sound insulation. Smoke and fume resistant. Easy clean up with water. Low volume shrinkage. Paintable. *Available in caulking and sprayable grades. Technical Data Color White Chemical basis Water based acrylic dispersion Density 1.6 ± 0.1 g/cm3 Skin-forming time Approx. 25 min Curing time 3mm/3days (@megatrends.ph 25°C/ RH50%) Elongation at break 300% Typical thickness temperature 1mm WFT = 0.7mm DFT Application temperature 40° F - 104° F (5° C - 40° C) In-Service Temperature -13° F - 176° F (-25° C - 80° C) Storage Temperature 50° F - 95° F (10° C - 35° C) Mold and mildew (ASTM G21) Mold resistant (Class 0) Volume Shrinkage(ASTM C1241) 22.3% VOC 42g/L Surface burning characteristics Flame spread: 0 UL 723 (ASTM E84) Smoke development: 5 STC Rating 63 (per construction type) Packaging 310ml/Tube; 25Tubes/CTN 20 fl. oz./Sausage; 20 Sausages/CTN 5Gal./Pail (SPRAYABLERobin ㆍ 2019.02.19 ㆍ Votes 0 ㆍ Views 2528
 -
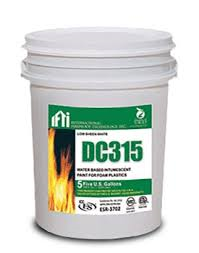 DC315Description DC315 is an intumescent coating for Spray Polyurethane Foam (SPF) and provides an alternative 15 or 20 minute thermal barrier. Tested and compliant in the USA by ICC-ES, AND Canada by CCMC, DC315 is the most tested and approved alternative thermal barrier on the market today! To be approved as an Alternative Barrier System, DC 315 is applied over a manufacturer's SPF and tested to the criteria of NFPA 286, UL 1715 or ISO-CAN/ULC 9705 for duration of 15-20 minutes by an accredited fire testing facility. DC 315 has also been tested as an ignition barrier under AC 377 Appendix X. DC315 is fully AC456 Compliant and satisfies the International Building Code (IBC) International Residential Code (IRC) National Building Code of Canada (NBCC) and many other International model building codes. DC315 Tested Solutions for Spray Polyurethane Foam o More full scale Thermal and Ignition Barrier tests than any other product in the world o DC 315 - 3rd. party inspected for Quality Control: Warnock Hersey Intertek W/N 20947 o Tested useful life, fire resistant property is not compromised after 50 years o Top coat for color, weather & moisture protection, tested, via NFPA 286 full scale testing o ANSI 51 testing for incidental food contact o Passed CAL 1350 - qualify DC 315 as a low-emitting material in the Collaborative for High Performance Schools rating system (CHPS Designed & CHPS Verified) o Passed strict EPA - V.O.C. and AQMD air emission requirements (for all 50 states) o 3rd Party tested "Single Coat Coverage" up to 24 Mils WFT, on ceilings and walls, reducing labor costs equaling higher profits o Meets Life Safety Code 101 o Meets LEED's point * End Use Applications: DC315 is for interior use as a thermal or ignition barrier coating to protect SPF. Contact IFTI...Robin ㆍ 2019.02.19 ㆍ Votes 0 ㆍ Views 2420
 -
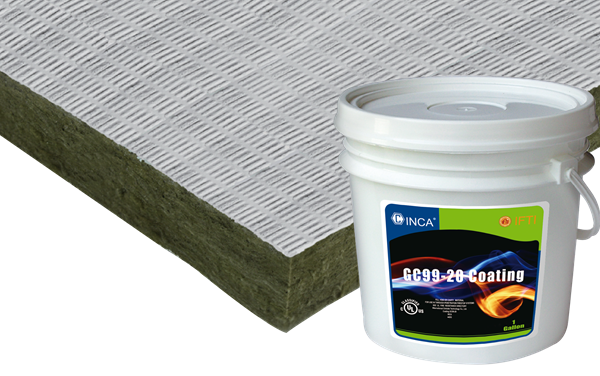 FP05 Coated Firestop BoardDescription Industry leading Firestop Technology, c is a 50mm thick high-density mineral fiberboard coated with GC99-20 Fireproof Coating used to create a fire barrier system, which can restore up to 2 hours fire rating. In case of fire, the coated surface of Firestop board will expand up to 30 times, reducing the spread of fire and smoke. FP05 offers exceptional performance, is easily cut to fit on site and factory-metered doses of coating assure inspectors the correct amount has been applied, making FP05 more cost effective than other traditional firestop solutions. FP05 is odorless, non halogenated and low VOC. When installed according to our Listed systems, it will restore the STC rating and provide an air-tight, smoke-tight firestop assembly. Meets the intent of LEED® VOC environmental air quality requirements Specifications Color: White Size: 1200 X 600X 50mm Bending Strength: ≥0.1 Mpa Density: 160Kg/m3 In-Service Temp: -13° F - 176° F (-25° C - 80° C) Application Temp: 40° F - 104° F (5° C - 40° C) Package (FP05) 4 Pieces/Case Package(GC99-20) 1Gal/Pail Testing ASTM E814 2 hr F & T Rating UL 1479 2 hr F & T Rating CAN/ULC S-115 2hr FTH Ratings FM Approved ASTM E84 GB 23864 ASTM E662 Installation guide: 1. Refer to applicable certification directory or www.painttoprotect.com for listed assemblies. 2. Clean surfaces of the opening and all penetration items to ensure adhesion. Opening must be dry, frost free and void of any grease and dust. 3. Minimum 1/8 in. (3.2 mm) wet thickness of INSS2460 shall be applied to the interior surfaces of the opening to a min height of 1-1/2 in. (38 mm) on both sides of the floor or wall. Prior to the installation of FP-05, a min 1/8 in. (3.2 mm) wet thickness of sealant applied to the cut edges...Robin ㆍ 2019.02.19 ㆍ Votes 0 ㆍ Views 2599
FREE QUOTE
Do you need help with electrical maintenance? Fill out this form to get in touch.